


June 13, 2023
Oven Repair
Ovens are essential appliances, and it can be incredibly frustrating when they just stop working – particularly if you have no idea why. The JennAir F2E1 error code usually indicates there is an issue with the oven’s interface or keypad, which can have a variety of causes. We’ll walk you through the main causes and solutions for this error step by step, so you’ll have the issue fixed in no time!
This guide refers to all the main models of JennAir ovens, including:
1012
1013
1015
1017
1035
1037
89891
A100
C201
C202
C221
C301
CG206B
CVG4280W
JDS9860AAP
JED8430ADB
JGC8536ADS
S125
S160
SEG196
SVD48600P
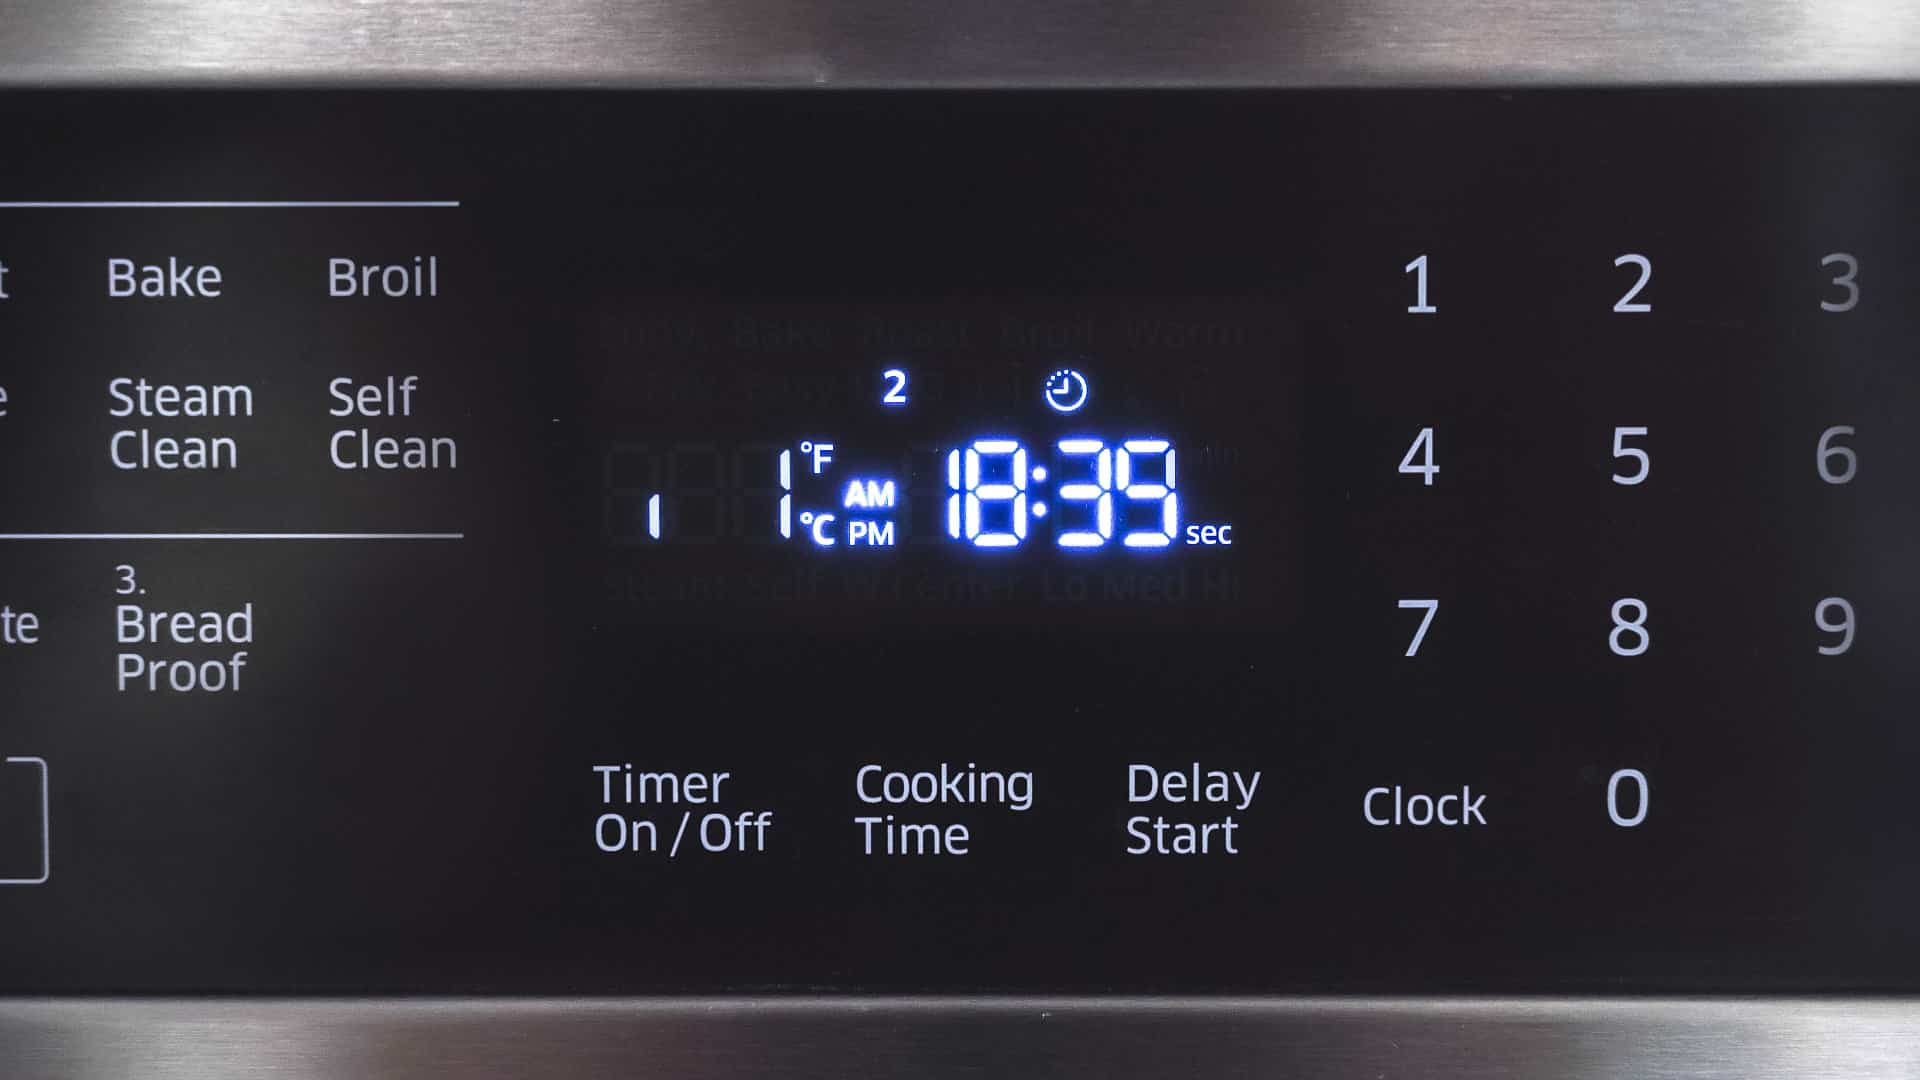
Check for stuck buttons
Checking for stuck buttons should be the first thing you do if you see the F2E1 error code on your JennAir oven. If one of your buttons is stuck it can trigger the error code to appear, and if you manage to unstick it the issue will be solved.
To begin with, you need to always turn off your oven before doing any work on it. This will protect the oven from electrical damage and also protect you from danger. Before you start inspect the control panel buttons visually, looking for obvious signs of wear and tear. This could include cracked or broken buttons. You also need to check if any buttons are stuck in a pressed position, or if any buttons don’t return to their original position when pressed.
Next carefully press and massage each button on the control panel, making sure they all feel consistent and that they all return to their original position. If any button feels different or seems to be stuck, massage it gently with a soft microfibre cloth until it pops back into position. You need to be careful not to be too rough with the buttons, or use any abrasive cloths or materials, or you could cause damage.
If you manage to free any buttons from a stuck position, turn your oven back on and check to see if the error code has cleared. If it is still showing, try one of the other solutions on our list.
Reset the control board
In some cases, a reset is all that is needed to clear this code. Start by disconnecting the oven from the power for a full minute. When the minute is up, turn the oven back on, and then monitor the display to make sure it doesn’t recur. You can also try using your oven to make sure everything is working as it should be, and to ensure the error code doesn’t recur after the oven is in use.
Replace the keypad
If you’ve tried the previous two troubleshooting tips to clear the F2E1 error on your JennAir oven and had no luck, it may be necessary to replace the entire keypad. This can seem like a daunting task, but with the right tools, some patience and attention to detail, it’s possible for a DIYer to do this. Only attempt it if you have some experience with electrical DIY, however, as it may be too difficult for a complete novice.
- Before starting, you’ll need to make sure you have everything you need on hand, and this includes a replacement keypad. You can order a replacement part online. You’ll also need screwdrivers and a camera or phone to take reference photos with.
- Safety is always the top priority, so make sure you turn off your JennAir oven and remove it from the wall socket to avoid any risk of electric shock.
- To access the keypad, you’ll need to remove the oven’s control panel. The exact process will differ depending on your specific model, but in most cases you’ll need to undo the screws that hold the panel in place from the inside of the oven door. When lifting the panel away from the oven, take care not to damage any of the wiring.
- Now take photos of the wiring and any other parts you’ll need to disconnect. This will be invaluable when it comes time to put everything back together!
- Carefully disconnect the wiring harnesses and any tabs or clips that secure the connections.
- Unscrew or unclip the keypad from the control panel. Don’t forget to keep all clips, screws or other components somewhere safe, you’ll need them to secure the new keypad in place.
- Referring to the pictures you took, secure the new keypad to the control board using the same screws, clips or other components. Make sure you’ve connected the wiring harness in the exact same way.
- Before you replace the control panel, test to see if the error code is cleared by turning the oven back on. You don’t want to put everything back together just to find that it is still not working! If everything is working fine, turn the oven back off and reattach the control panel to the oven, using the screws you removed earlier.
- Once everything is completely reassembled, turn the oven on again and double check to make sure that the error code is resolved. Your oven should now be functional once more!
Please note – this is quite a technical, involved process and is not for the faint of heart! You always have the option to hire a professional instead of doing it yourself, and that is what we strongly recommend if there is any part of the process you’re not sure about. There are a lot of things that can go wrong when doing amateur electrical work, and you don’t want to risk ruining your oven or risking your own safety.